Skip to content

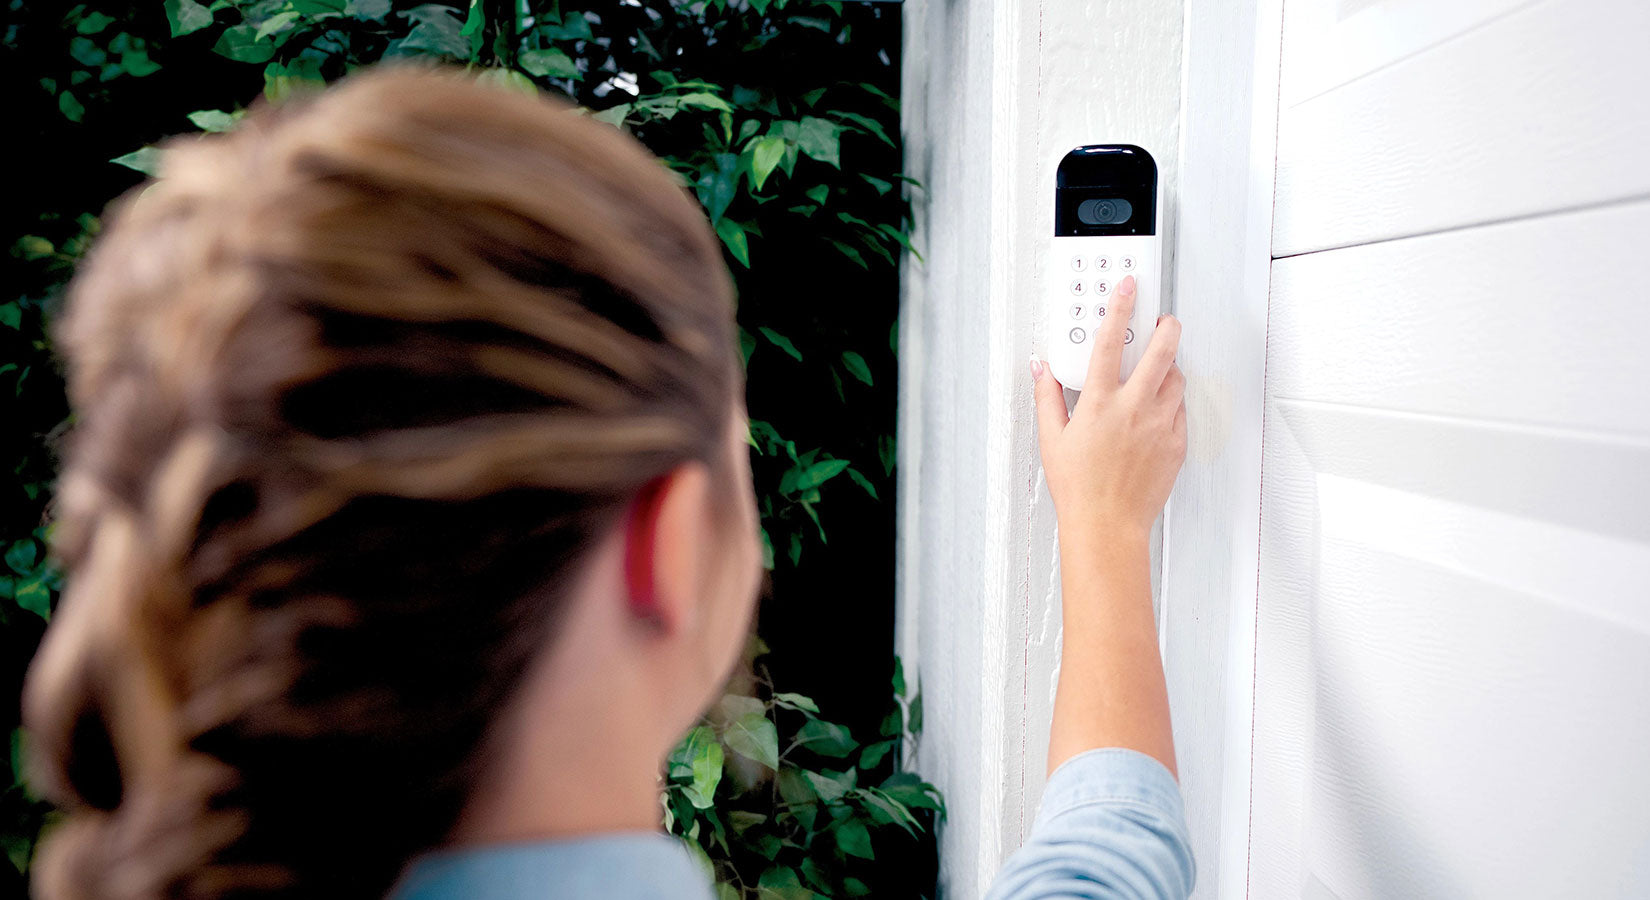
LiftMaster wireless keypads are reliable, until something goes wrong and you're locked outside the garage with a code that won't work. The good news: most LiftMaster keypad failures are quick and inexpensive to fix once you identify the cause.
This guide walks through the 10 most common reasons a LiftMaster keypad stops working and the fastest fix for each, plus when it's time to replace the keypad rather than keep repairing it.
LiftMaster Keypad Not Working? Discover 10 Possible Causes and Solutions
Quick Triage: Find Your Symptom in 30 Seconds
Skip ahead to the most likely cause based on what your keypad is doing right now:
-
Keypad won't respond at all (no lights, no reaction) → see Cause 1 (battery), Cause 2 (button damage), Cause 5 (lockout)
-
Keypad lights up, but the door doesn't open → see Cause 3 (signal interference), Cause 8 (stored code)
-
The code is being rejected → see Cause 5 (lockout), Cause 8 (stored code)
-
Keypad works in summer, fails in winter → see Cause 4 (cold weather)
-
Door opens but won't close → see Cause 9 (photo eye / safety sensor) this is NOT a keypad issue
-
Keypad has no Enter button → see Cause 10 (universal keypad)
1. The Battery Is Dead or Weak
This is the most common cause of a LiftMaster keypad not working and the simplest to fix. Most LiftMaster wireless keypads use a standard 9-volt battery; older models may use a 12-volt. A weak battery causes the keypad to behave erratically: it lights up briefly and dies, accepts the first digit but not the rest, or doesn't respond at all.
Fix: Open the battery compartment (usually on the back or bottom of the keypad), replace the battery with a fresh one and test. The whole job costs under $5 and takes two minutes. If the keypad has been outside through a winter, the battery may have drained from the cold, even if the keypad itself is recent; always replace the battery first.
2. The Buttons Are Stuck or Damaged
Outdoor keypads collect dust, pollen, dirt, and moisture over time. Buttons that worked for years can suddenly become sticky or unresponsive. Sometimes only one button fails, which can lock you out if that button is part of your PIN.
Fix: Wipe the keypad down with a damp cloth. For stuck keys, use a soft-bristle brush or a short burst of compressed air to clear debris from between the buttons. Don't use water under pressure, as that can drive moisture deeper into the housing. If multiple buttons feel sticky after cleaning, or if the housing is cracked, the keypad needs replacement rather than repair.
Quick workaround
If only one specific button is unresponsive, you can change your PIN to a code that doesn't include that digit. See our guide to changing your LiftMaster code, which buys you time until you can replace the keypad.

3. There Is Signal Interference
Sometimes the keypad itself is fine, but the problem is that its signal isn't reaching the opener. Metal siding, thick concrete, large appliances, and even some wireless devices in the 300–400 MHz range can block or jam the keypad's signal.
Test for interference by removing the keypad from the wall (don't disconnect, just hold it loose) and entering your code while standing in different positions. If the keypad works when handheld but not when mounted, signal interference is the issue.
Fix: Reposition the keypad slightly, even a few inches away from a metal door frame or panel can restore the signal. Adjust the antenna on the opener (if it has one) so it hangs straight down. If the keypad is mounted inside an enclosure, confirm the enclosure is RF-transparent for your specific keypad model.
KPW5 inside an ASE Protective Hood?
If your KPW5 is mounted inside our ASE Protective Hood and the signal has weakened, try testing the keypad outside the hood as a quick check. The hood is designed to be RF-transparent specifically for the KPW5, if there's signal loss while the hood is in place, the issue is usually a faulty hood or a different keypad model rather than the design itself. Contact our support team for replacement options.
4. Cold Weather Is Affecting the Keypad
This is a major cause of winter-only keypad failures, and one that frustrates a lot of LiftMaster owners, especially in northern climates. Older outdoor keypads can become unresponsive in extreme cold for several reasons: internal condensation freezes, the plastic housing contracts and stresses solder joints, button contacts wear faster, and battery output drops sharply below freezing. The result: a keypad that works fine in summer can completely fail every winter.
Symptoms of cold-related failure:
-
The keypad works in mid-day sun but fails in early morning
-
Buttons stick or feel mushy below freezing
-
Total failure with a fresh battery during cold snaps
-
Slow or delayed response in cold weather
Fix: A weatherproof keypad cover can extend the life of an older unit through one or two more winters. But if your keypad is more than 5–7 years old and fails every cold season despite a fresh battery, it's reaching end-of-life. Newer LiftMaster keypads like the myQ Video Keypad (VKP1-LM) and the Security+ 3.0 lineup are built with wider operating temperature ranges and are a worthwhile upgrade in cold climates. They also add smartphone backup access via the myQ app, so a frozen keypad doesn't lock you out anymore.
5. The Keypad Is Locked Out from Wrong Codes
LiftMaster keypads include a built-in lockout feature that triggers after several wrong code entries in a row. This prevents anyone from rapidly trying random codes to break in but it can lock you out too if you mistype your own PIN a few times.
Symptoms: keypad lights respond when you press buttons, but no code (even the right one) opens the door. The lockout typically lasts 5–15 minutes, then resets automatically.
Fix: Wait the lockout period out, then try your code again. If you've tried multiple times and you're not sure whether you're remembering the code correctly, the cleanest solution is to do a full keypad reset to a known new PIN: see our LiftMaster keypad reset guide for the step-by-step. The reset clears the lockout state and replaces the stored PIN.
Using a temporary PIN that may have expired?
If you set up a time-limited or use-limited temporary PIN through the keypad's temporary code feature, it expires automatically once it hits the limit. The keypad can't tell you the temporary PIN is dead — it just stops responding. See our guide to changing your LiftMaster code for temporary PIN management.
6. The Wiring Is Damaged (Hardwired Keypads Only)
This cause only applies to hardwired keypads, older indoor wall stations connected to the opener with low-voltage wiring. Most modern LiftMaster keypads are wireless and battery-powered, so wiring damage isn't a possibility for them.
If you have a hardwired keypad and it's stopped working, check the wiring at both ends: at the keypad's screw terminals and at the opener's terminal block. Look for loose connections, corroded contacts, chewed insulation (rodents), or wires pulled loose during nearby construction or pest control work.
Fix: Tighten loose connections at both ends. Replace any visibly damaged wire runs. If the wires pass through conduit and you can't easily access them, the simplest fix is often to install a wireless keypad alongside or in place of the hardwired unit.
7. The Keypad Is Past Its Lifespan
Like any electronic device exposed to weather, LiftMaster keypads have a finite lifespan. Most outdoor keypads last 8–10 years before the buttons, plastic housing, internal contacts, or seals degrade enough that the keypad fails consistently. Indoor wall stations last longer because they're not exposed to UV, rain, or temperature swings.
Signs your keypad is at end-of-life:
-
Cracked or yellowed plastic housing
-
Faded or worn-off button labels
-
Intermittent failures even with fresh batteries
-
Multiple buttons unresponsive simultaneously
-
Visible water damage or corrosion inside the battery compartment
Fix: Replace the keypad. Browse our LiftMaster keypad collection, where you will find the 878MAX is the standard wireless replacement, the KPW5 is built for commercial duty, and the myQ Video Keypad adds modern smartphone integration.
8. The Code Is Stored Incorrectly on the Opener
Sometimes the keypad is working fine, the battery is fresh and you're entering the right code but the opener still doesn't recognize the input. The cause is usually corruption in the opener's stored memory: the PIN stored on the opener has become misaligned with what the keypad is sending, or the stored code conflicts with another paired device.
Symptoms: The keypad responds normally to button presses, but the correct code is rejected. May happen after a power outage, a nearby lightning strike, or a recent attempt to add multiple codes simultaneously.
Fix: Reset the keypad and reprogram a new PIN. The reset process clears the opener's stored code state for the keypad and lets you start fresh. See our LiftMaster keypad reset guide for the full step-by-step. If reprogramming doesn't solve it, the opener's logic board may have corrupted memory and need professional service but always try the reset first.
9. The Door Opens But Won't Close (Photo Eye / Safety Sensor)
This is one of the most common situations that gets misdiagnosed as a keypad problem, but the keypad isn't broken at all. The opener is detecting an obstruction (real or perceived) and refusing to close the door for safety reasons. The keypad accepts the code, the door opens, and then the door simply won't close. Sometimes the opener's light flashes 10 times to signal a safety sensor error.
Every LiftMaster opener installed since 1993 has photo eyes that are small infrared sensors mounted near the bottom of the door tracks that detect anything in the door's path. If both photo eyes don't see each other (because they're misaligned, dirty, blocked, or wired incorrectly), the opener will not close the door no matter what input it receives.
Quick troubleshooting:
-
Clean the photo-eye lenses - Both eyes should be wiped down with a soft cloth cause dirt, spider webs, and condensation are the most common false triggers.
-
Check the LED indicators - Both photo eyes should show a solid LED. If either is off or blinking, they're misaligned.
-
Realign the eyes - Loosen the bracket screws and adjust each eye until both LEDs are solid. Tighten and retest.
-
Clear the door tracks - Remove any debris that might be partially blocking the photo eyes' line of sight.
-
Check for direct sunlight. Late-afternoon sun hitting one of the eyes head-on can wash out the signal. A small sun shield (the manufacturer sells these, or a cardboard mockup will confirm the issue) usually fixes it.
If the LEDs still won't stay solid after cleaning and realigning, you likely need new safety sensors, they wear out, especially the older models with original wiring. A keypad reset won't fix this; the issue is on the opener side.
10. The Universal Keypad Has No Enter Button
Some LiftMaster universal keypads, especially older or third-party-compatible models, don't have a button labeled "Enter." Instead, they confirm the entered code with a different key: the arrow, the # key, or the 0 key. If you've moved into a home with an unfamiliar keypad and the code seems to be entering but never confirming, this is probably what's happening.
Fix: Test each candidate's confirmation key with a known PIN. Enter the 4-digit code, then press the arrow, #, or 0 in turn. The right confirmation key will open the door. The fastest way to identify the correct key permanently is to look up your keypad's model number (usually printed inside the battery compartment). The manual or product spec will identify the confirm key.
LiftMaster Keypad Blinking
If you notice your LiftMaster keypad blinking, it usually signals a low battery or programming issue. Replacing the battery and reprogramming the code resolves most blinking problems. If the blinking persists, inspect the wiring or call a professional for service.
How to Program and Reset a LiftMaster Garage Door Keypad
When your LiftMaster keypad is not working, programming or resetting it is often the solution. To reset:
-
Press and hold the * and # keys until the keypad light stays on.
-
Enter your new PIN.
-
Press Enter.
-
Test the code with the opener.
This process takes less than five minutes and often solves many keypad problems.
When You Need a Replacement: Picking the Right LiftMaster Keypad
If you've worked through the causes above and your keypad is still failing — or if it's clearly past its lifespan — replacement is faster and more reliable than another round of troubleshooting. Three replacement options cover most use cases:
-
LiftMaster 878MAX wireless keypad — the standard residential replacement. Pairs with most LiftMaster (and many Chamberlain) garage door openers using the Learn-button method. Reliable, weatherproof, simple to install. The right choice for most homeowners.
-
LiftMaster KPW5 commercial keypad — built for high-traffic commercial doors and heavy-duty residential use. Heavier housing, higher cycle rating, more durable buttons. Worth the price difference if your door cycles dozens of times a day.
-
LiftMaster myQ Video Keypad (VKP1-LM) — adds smartphone control via the myQ app, a built-in HD camera, and an audit trail of every entry. Built with wider temperature ranges and Security+ 3.0 encryption. The right choice if your old keypad fails in cold weather or you want app-based access management.
Browse our full LiftMaster keypads collection for the complete lineup, including Security+ 3.0 (L979) keypads if you want the strongest encryption LiftMaster offers.
Frequently Asked Questions
Q1. Why is my LiftMaster keypad not working all of a sudden?
The most common cause is a dead 9-volt battery (12-volt on older models). If replacing the battery doesn't fix it, check for stuck or sticky buttons, then test whether the keypad works closer to the opener — signal interference is the next likely cause. If the opener responds to the wall button but not the keypad, the issue is on the keypad side.
Q2. Why is my LiftMaster keypad blinking 10 times?
10 blinks on the opener's light is a safety sensor (photo eye) error, not a keypad problem. The door won't close because the opener thinks something is in the way. Clean the photo-eye lenses, realign them until both LEDs are solid, and clear any debris from the door tracks. If the LEDs still won't stay solid, you likely need new safety sensors.
Q3. My LiftMaster keypad stops working in cold weather. Is it broken?
Not necessarily, older outdoor keypads can become unresponsive in extreme cold due to internal condensation, contracted plastic, or worn contacts. If your keypad is more than 5-7 years old and the battery is fresh, the keypad is likely showing its age. The myQ Video Keypad (VKP1-LM) and Security+ 3.0 keypads are built for wider temperature ranges and are a worthwhile upgrade in cold climates.
Q4. My LiftMaster keypad opens the door but won't close it. What's wrong?
This is a safety sensor issue, not a keypad issue. The opener is detecting an obstruction (real or perceived) and refusing to close. Check the photo eyes at the bottom of the door tracks — both should show solid LEDs. Wipe the lenses, realign them, and clear the tracks. Sun glare and dirty lenses are the most common false triggers.
Q5. How long does a LiftMaster keypad last?
Most outdoor LiftMaster keypads last 8-10 years before the buttons, plastic housing, or internal contacts wear out. Indoor wall keypads last longer because they're not exposed to weather. Symptoms of end-of-life: cracked plastic, faded buttons, unresponsive keys after a fresh battery, or intermittent failures.
Q6. Can I just replace the keypad without changing the opener?
Yes. LiftMaster keypads are sold separately and pair with most LiftMaster (and many Chamberlain) garage door openers. The 878MAX is the standard replacement; the KPW5 is built for commercial duty; the myQ Video Keypad (VKP1-LM) adds smartphone control and a built-in camera. Pairing takes a few minutes once you've installed the new keypad.
Q7. My keypad has no Enter button. How do I confirm a code?
Some universal LiftMaster keypads use the # or 0 key in place of Enter. The 4-digit code-entry sequence is the same; only the confirm key differs. Look up your keypad's model number for the exact key, or test by entering a known code and trying each candidate confirm key.