Skip to content

Changing your garage lock is a good idea if you are moving to a new home or employing helpers. Changing the lock is a necessary precautionary measure. This post will help you learn how to change the LiftMaster garage code because you need to or want to.
Changing your LiftMaster garage door opener code varies according to the model. Our instructions work with most LiftMaster models, but please refer to the specific user manual for instructions.
Why Change the Garage Door Code?
During a garage door installation, you are issued a preprogrammed code that needs to be changed after you move in.
The garage door keypad code is supposedly a fail-proof locking technology intended to keep your property safe. However, gate security with keyless entry can also be rendered vulnerable at some point.
The fobs and other controllers that access the door can get lost, misplaced or stolen. It might be that you are moving into a new home or a rental property, or perhaps you are renting your home to new tenants.
Sometimes, you may need to commission others for home repair and maintenance. Other times, you will feel unsafe thinking someone may have breached the code to find a way into your garage.
Getting a new code to override the door’s old code can give you peace of mind. So, if you are trying to figure out how to change your LiftMaster garage code successfully, let us show you how.
How to Change LiftMaster Garage Door Code for Wireless Keypad
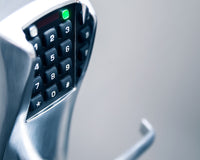
A wireless keypad is an exterior access system that enables users to open and close the garage door without a physical key. Instead, it uses a numeric keypad mounted near the door where a unique code is punched.
Garage door keypads are linked to automatic door receivers that disintegrate the lock with the pre-registered keypad code.
Below are basic steps to change a garage code for some LiftMaster garage door opener keypad models like the 877 LM.
- Enter the old PIN code you want to change in the LiftMaster garage keypad.
- Press and hold the # until the LED indicator on the garage door opener flashes twice.
- Enter your new code or PIN and press the ‘ENTER’ button.
- The light on the door opener will flash once to indicate a successful code change.
How to Add a Temporary PIN
A temporary PIN can be programmed into the wireless keypad. It can be used if you want someone to access the garage without giving them the actual door code.
The temporary PIN is handy for the cleaning crew or handymen if you are doing a garage door repair. You can set the temporary PIN to work for a specified number of hours (up to 255 hours). You can also set how often the temporary PIN will work (up to 255 openings).
To set the number of hours for the temporary PIN to work:
- Enter the old code and press and hold the * button until the light in the door opener flashes thrice.
- Enter the desired temporary PIN and press the ENTER button until the light flashes four times.
- Press the number of hours you want the code to work.
- Press the * button, and the light will flash once to indicate successful programming.
To set a temporary PIN and the number of times it can be used to open the door:
- Enter the old PIN code and press the * button for the light to flash three times.
- Enter your desired temporary PIN and the ENTER button, and the light will flash four times.
- Press the desired number of times the code can be used.
- Press the # button and wait for the light to flash once.
How to Change LiftMaster Garage Code Using the Receiver Unit
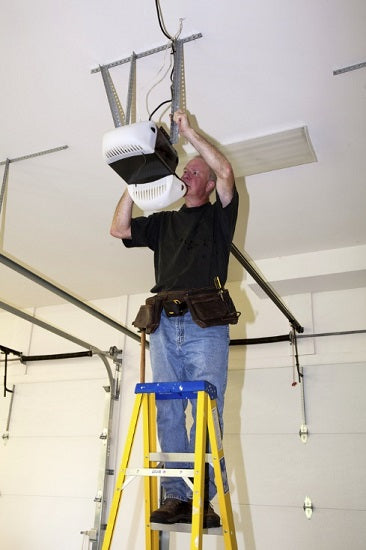
You can also learn how to change the LiftMaster garage code using the motor unit, and it is not as complicated as you think.
- Open the garage door motor unit and locate its program button, often near the door flap and antenna. Depending on the receiver and the compatible garage door remote, the LEARN knob can be yellow, red, purple, orange or green.
- Press the LEARN button once, and the light bulb will turn on for about 30 seconds. Do not hold the LEARN button; otherwise, it will erase all the present remote control memories linked to it.
- While the LED light is still on, enter your desired 4-digit PIN on the keypad.
- Press and hold the ENTER button and release it when the unit’s light blinks. For keypads that do not have a LED light, wait for two clicks.
- After the LED indicator light stops blinking, test the garage door with the PIN. Repeat the process if it is unsuccessful.
How to Change LiftMaster Code Using the Control Panel
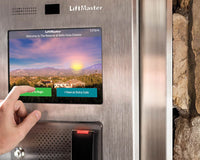
Some garage openers come with a control panel. You can use this to change the code on your standard garage door opener remote. It has four different styles: multi-function control panel, motion detecting, smart control with LCD and doorbell-style control panel.
- Locate the LEARN button label in the control panel. In doorbell style, the LEARN button is the light button on the right side. You must press and hold this simultaneously with the front button before releasing. On an LCD control panel, use the smart button and toggle the following sequence in programming mode: Menu>Program>Keypad
- Enter your desired 4-digit PIN on the keypad.
- Press and hold the ENTER button until the light on the motor unit blinks or the remote controller clicks.
- Wait until the light stops blinking, and try out your new garage door opener code.
LiftMaster Garage Code
Learning how to change your LiftMaster garage code is useful for security purposes. For more information about programming and troubleshooting door controllers, feel free to visit All Security Equipment.
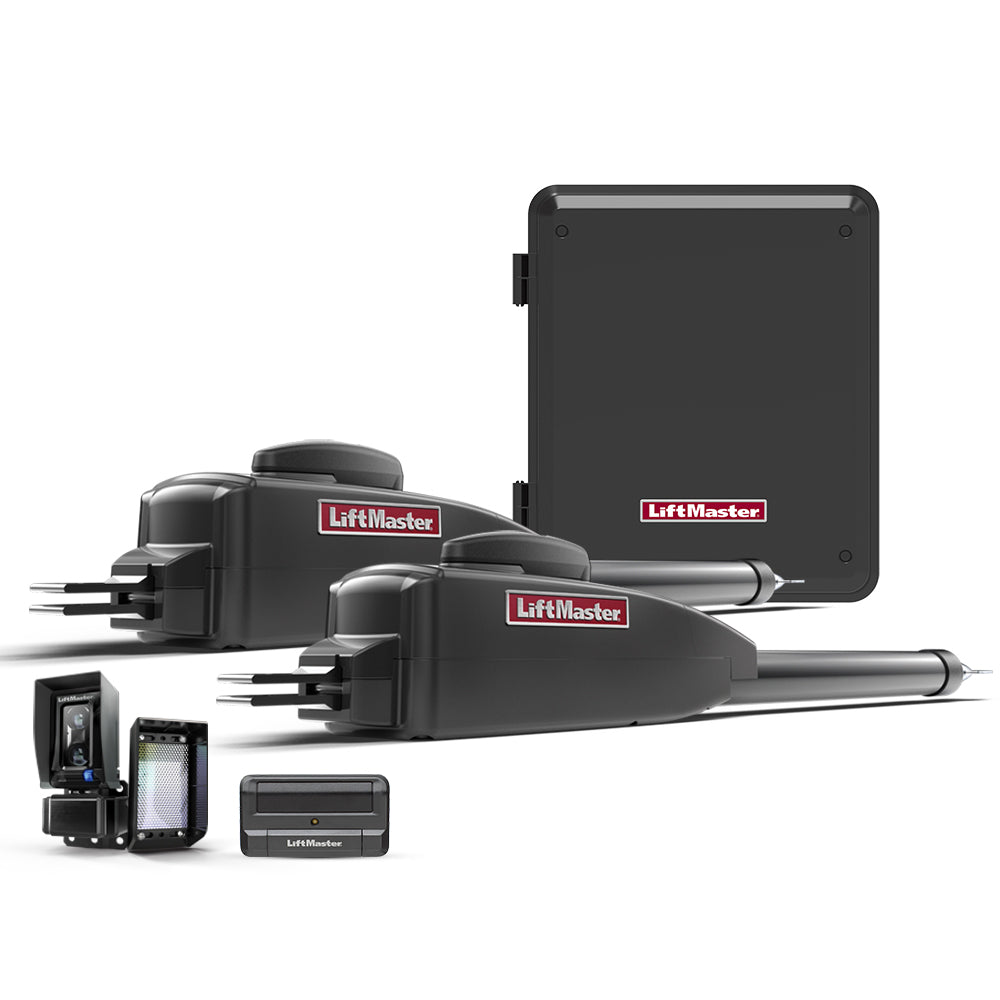
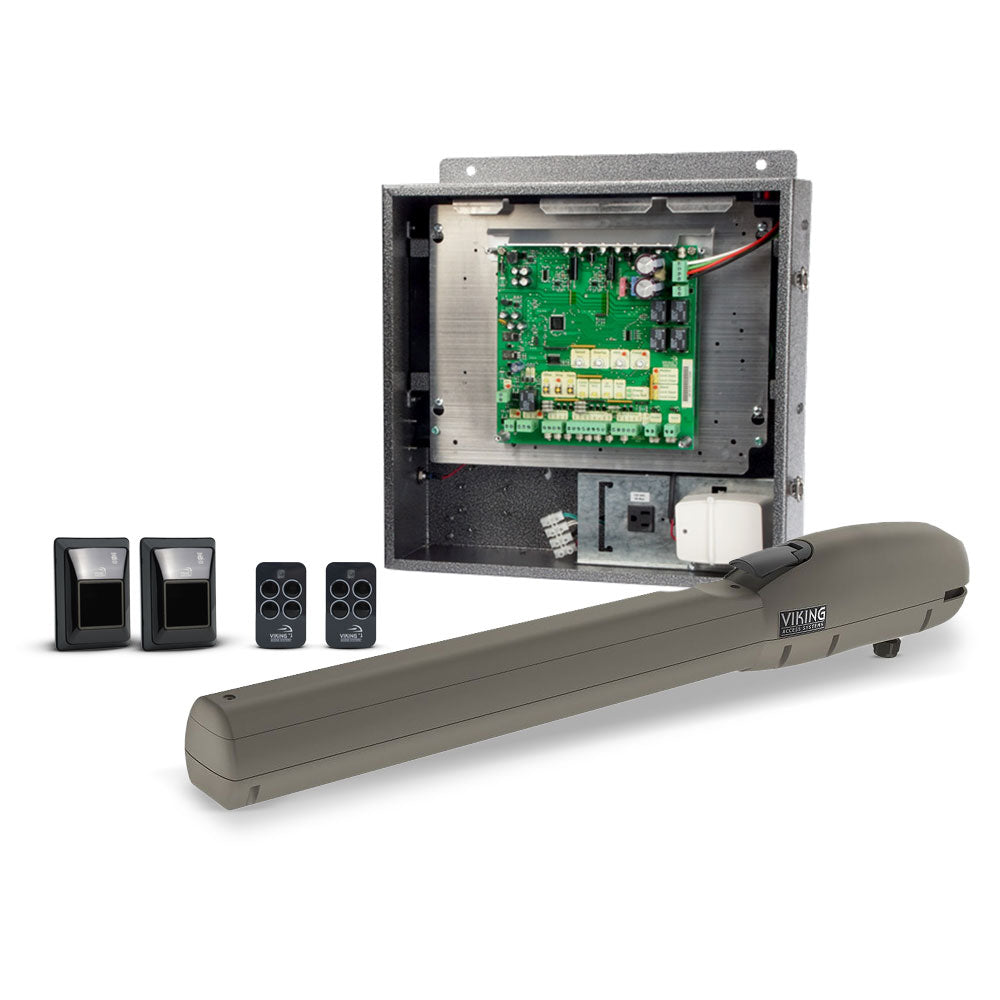
All Security Equipment is a global dealer of various LiftMaster garage doors, automatic doors and electric gate products to suit your needs. We have LiftMaster openers and controllers for residential and commercial garages and overhead doors.
Contact us today and see how we can help you with safe, secure and convenient hands-free entry to your home and properties.