Skip to content

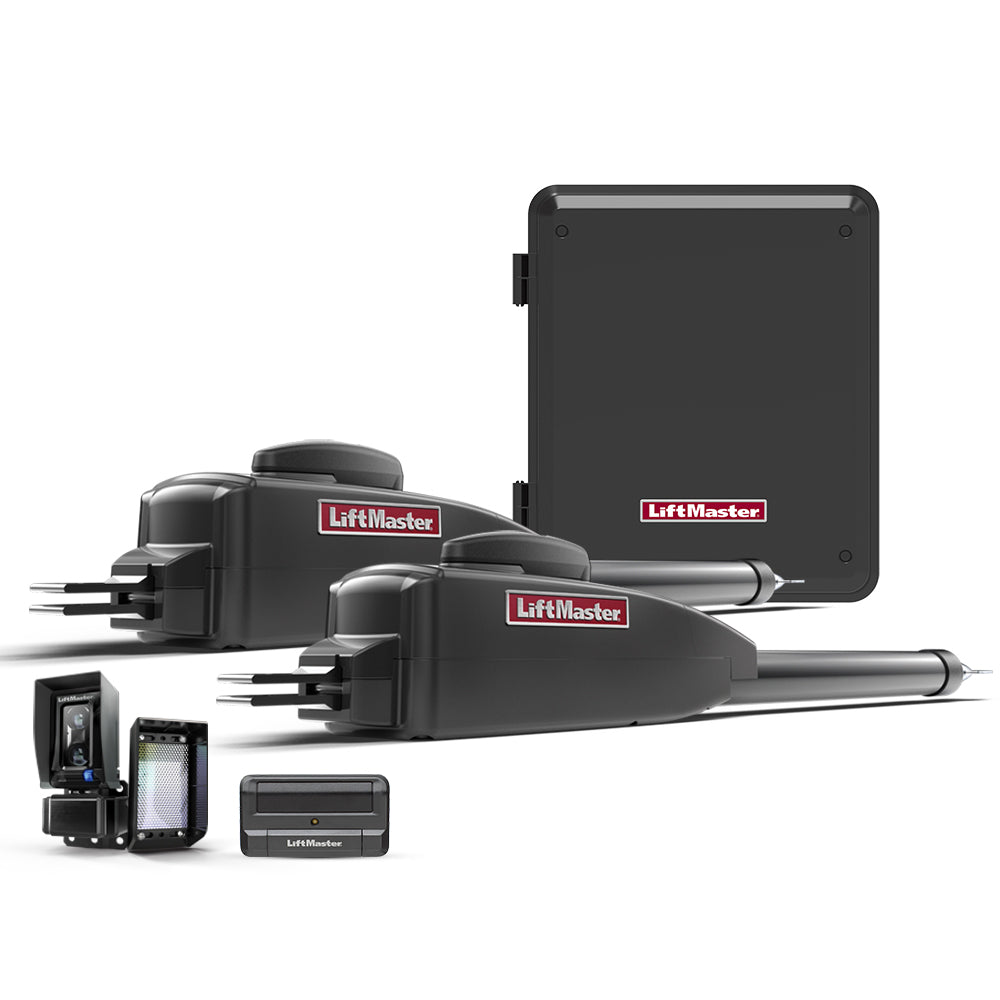
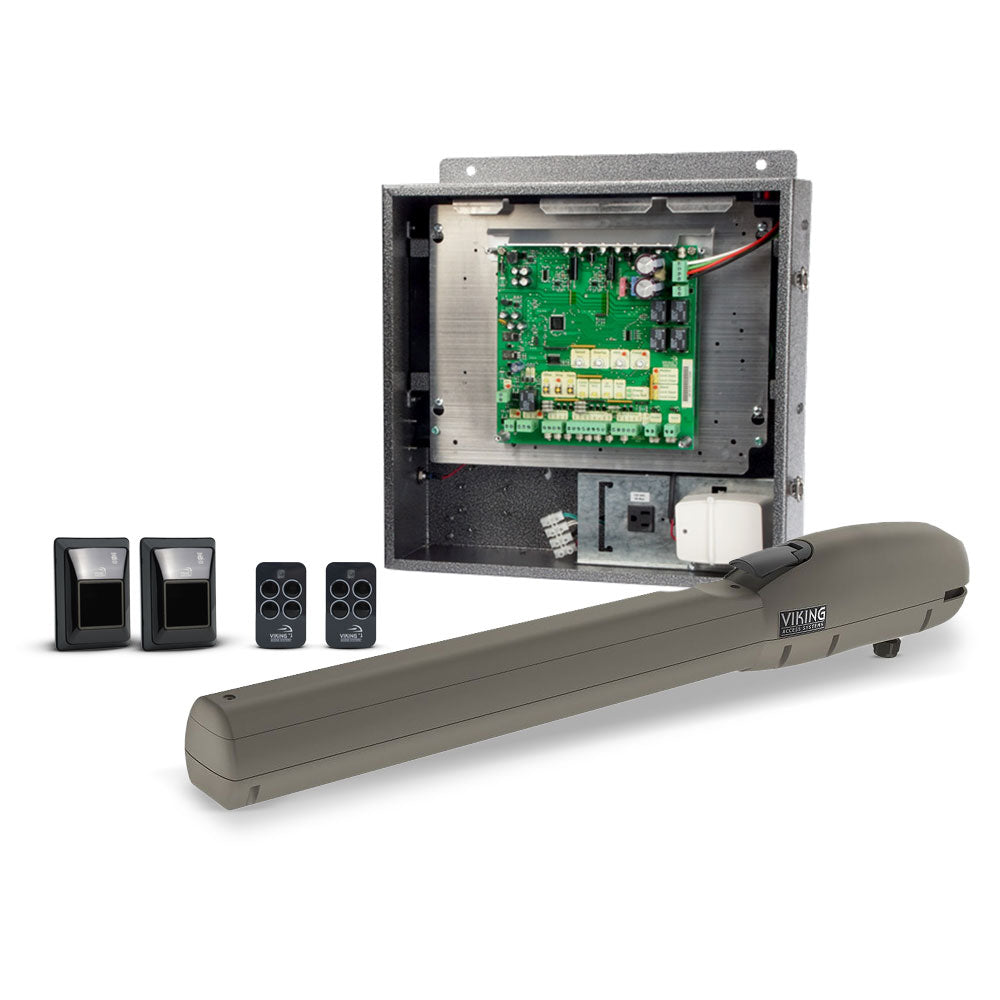
Installing a swing gate operator adds convenience and security to a property. While professional installation is recommended for complex setups, many single-swing gate operators can be installed by a competent homeowner or technician with the right tools and preparation.
This guide walks through the full installation process from preparation to testing.
Before You Begin
Before starting the installation, verify the following:
-
The gate is in good condition with properly functioning hinges
-
The gate post or column is sturdy enough to support the operator
-
You have a power source within reach of the installation location
-
All necessary tools and hardware are available
-
You have read the manufacturer's installation manual
Step 1: Prepare the Gate and Post
Start by inspecting the gate and post. The gate should swing freely without dragging or binding. Tighten any loose hinges and ensure the post is level and secure.
Mark the mounting positions for the operator bracket on the gate post and the arm bracket on the gate itself. Follow the manufacturer's measurements for proper placement.
Step 2: Mount the Operator
Attach the operator bracket to the gate post using the provided hardware. Make sure the bracket is level and firmly secured. Then mount the arm bracket to the gate.
The operator arm should be positioned so that it has full range of motion without interfering with the gate, post, or surrounding structures.
Step 3: Run the Wiring
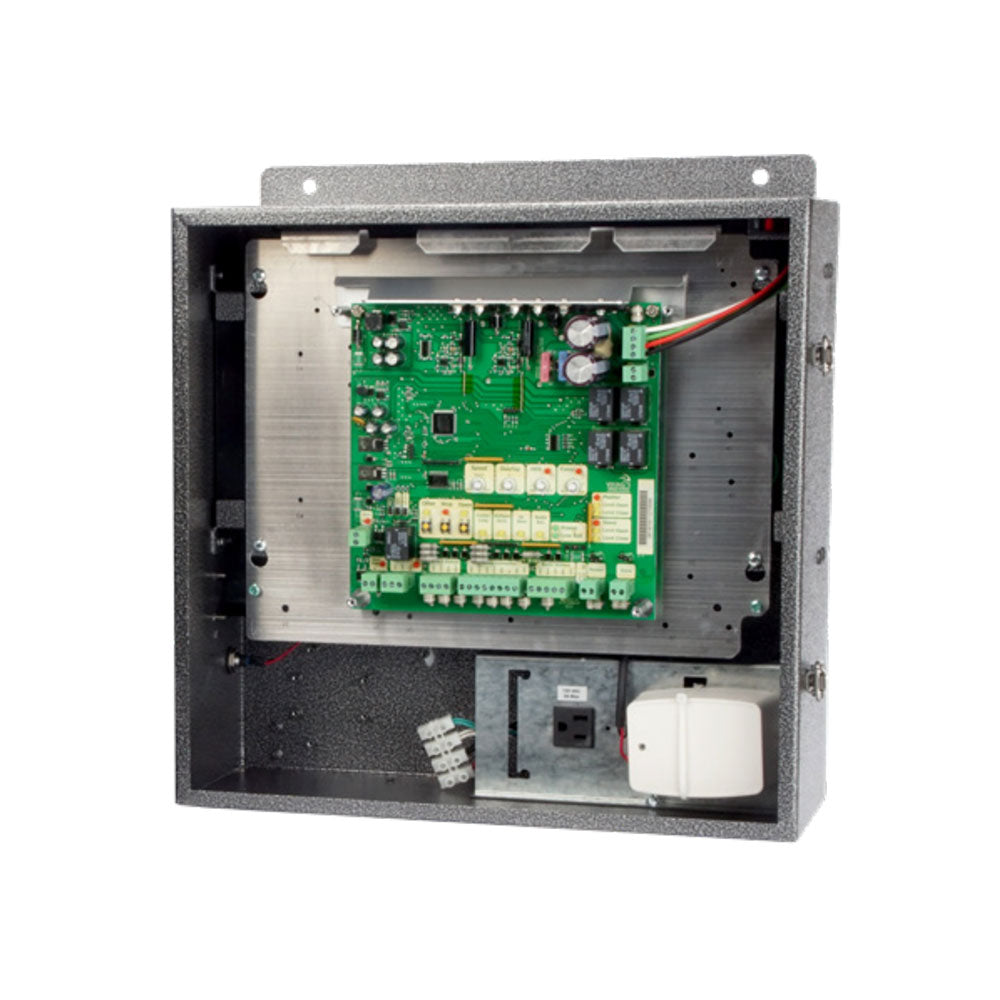
Run the power cable from the electrical source to the operator. If the system includes accessories such as keypads, intercoms, or sensors, run their wiring to the control board at this stage.
-
Use outdoor-rated conduit to protect wiring from weather and damage
-
Follow local electrical codes for burial depth and conduit type
-
Leave extra cable length at each connection point for easier wiring
Step 4: Connect the Wiring
Connect the power supply, motor, and any accessories to the control board. Follow the wiring diagram provided in the manual. Double-check all connections before applying power.
Step 5: Program the Operator
Most swing gate operators require initial programming to set open and close limits, speed, and auto-close timing. Follow the control board instructions to complete this setup.
-
Set the open position to prevent the gate from swinging too far
-
Set the close position to ensure the gate closes fully
-
Adjust the speed to match the gate weight and desired operation
-
Program auto-close delay if applicable
Step 6: Test the System
Test the system by running several open and close cycles. Verify that the gate moves smoothly, stops at the correct positions, and reverses when it encounters an obstruction.
-
Test the safety reverse feature with an object in the gate path
-
Verify all remote controls and keypads operate correctly
-
Check that the gate does not drift or bounce at the open or close position
Final Thoughts
A properly installed swing gate operator provides years of reliable service. Taking the time to prepare the gate, follow the manufacturer's instructions, and test thoroughly ensures safe and smooth operation from day one.
FAQ:
Q: Can I install a swing gate operator myself?
A: Yes, many single-swing gate operators are designed for DIY installation. However, complex setups, dual gates, or commercial installations are best handled by a professional.
Q: What tools do I need to install a gate operator?
A: Common tools include a drill, wrench set, level, tape measure, wire strippers, and a screwdriver. The manufacturer's manual will list any specific tools required.
Q: How long does it take to install a swing gate operator?
A: A typical single-swing gate operator installation takes 4 to 8 hours, depending on the complexity of the wiring and the condition of the existing gate and post.