Skip to content
An automatic, wireless garage door opener offers essential safety features and convenience that protect your vehicle, garage, and property. Overhead door openers are efficient and easy to use and come with remote control, which gives you wireless access from the comfort of your car.
One of the essential steps in setting up and maintaining your keyless entry system is to set and change the code routinely, which reduces the likelihood of unauthorized access to your garage and property.
Once your garage door code is set, you might share it with guests, family, or a housesitter on a long-term or temporary basis. If you suspect someone may have access to your garage without permission, it’s best to change your PIN to a new code immediately.
Regular code changes can prevent break-ins, and theft, while keeping your home safe. This step-by-step guide will successfully show you how to change your garage door code in five easy steps.
How to Prepare Before Resetting Your Garage Door Opener Code
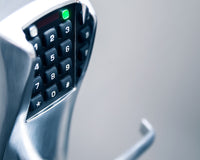
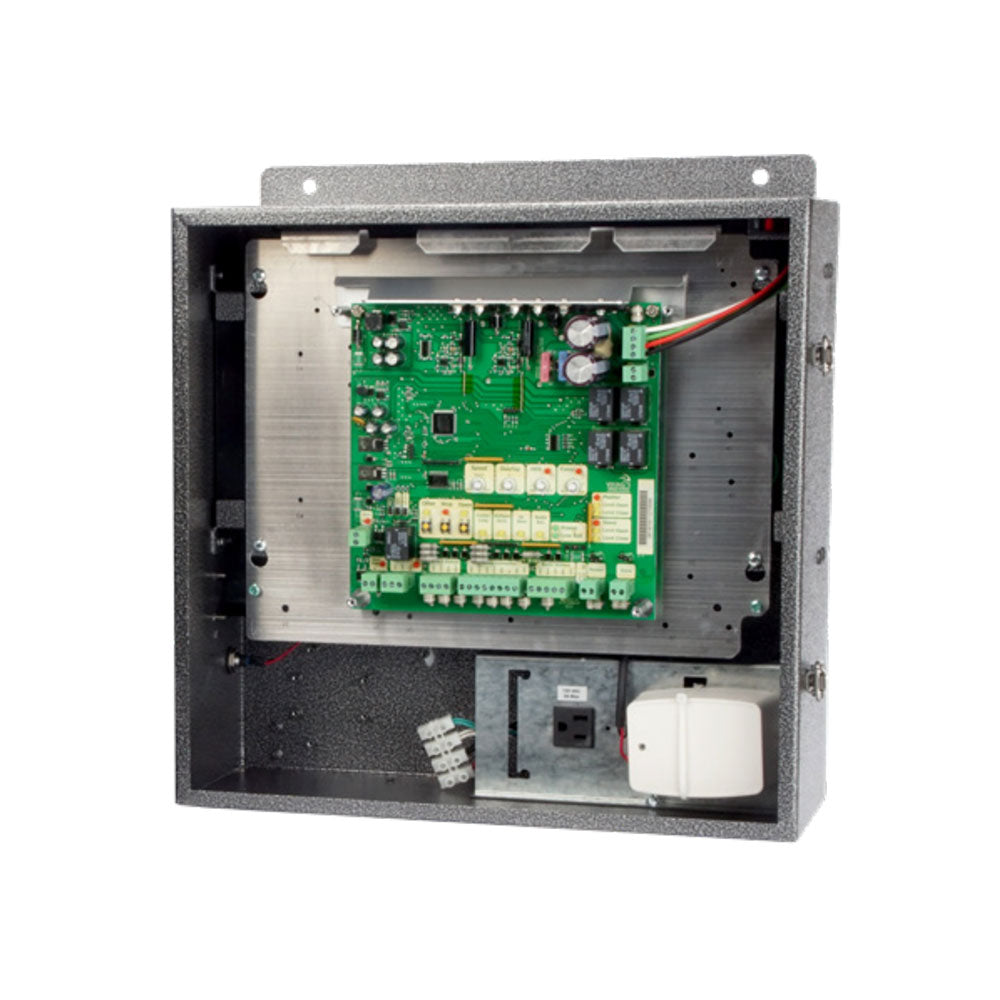
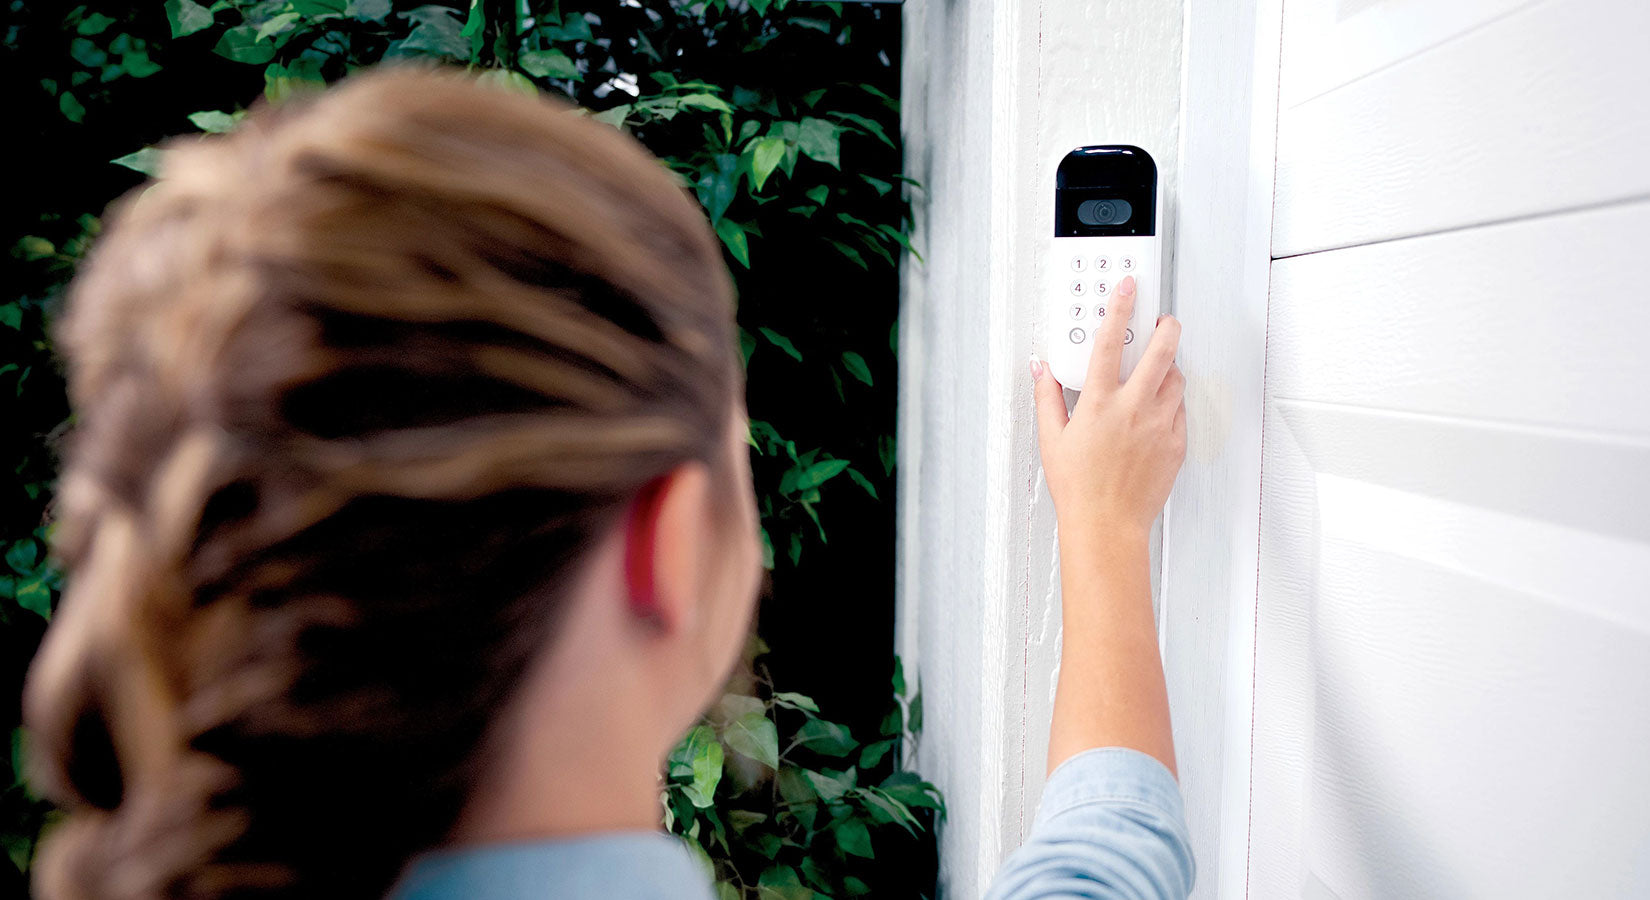
Your new garage door openers come with a keypad installed at the inner side of your door and a remote control that allows you to activate the opener once all the components are installed.
The garage opener requires batteries in the door keypad, and the remote has batteries. They must be 9-volt batteries, in most cases, according to the type of product, to operate correctly.
It’s crucial to ensure the batteries are working before proceeding with the door code change or setting a new PIN. When you’re ready to reprogram your garage door opener, you’ll need a screwdriver, ladder, and access to your garage door system’s motor.

How to Change Your Garage Door Opener Code With the Keypad
This method allows you to reset your garage door opener keypad by accessing the motor and resetting the remote.
1. Find the Garage Door Motor
The garage door motor is located on one of two sides of the doorway to your garage. You’ll need a ladder to reach the motor by placing it directly under the device.
2. Locate and Reset the Motor
The motor has a “Reset” button, which is located on the control panel. You’ll notice a light illuminated next to this button. Press “Reset” until the light goes off. When this action occurs, it means the door’s memory system and old code are cleared. Once the light is off, remove your finger from pressing the button.
3. Reset and Enter a New Code Into the Motor’s Control Panel
Press the “Reset” button again on the control panel of the motor, and hold the button until you notice the light comes back on. This process turns the system back on, so you can enter or program a new code.
Enter the new PIN code into the keypad, and you’ll notice the lights will begin flashing, which means the motor has accepted the new code programmed into the system. Once this is done, press and hold the motor button down until the flashing light changes to a static appearance, and continue pressing until the light turns off completely.
4. Reprogram Your Remote Control
Once the motor is turned off, you’ll need to reprogram the remote control. Press one button and keep it pressed until the light on the motor begins blinking, which means the new code is activated on the remote.
5. Add More Remote Controls to Reprogram
If you use more than one remote control, which is convenient for other family or household members, you’ll have convenient access without having to borrow another remote to open the garage door. You can quickly reprogram each additional remote by repeating the same procedure in step four of the process.
Reprogramming Codes on Garage Door Openers Without a Keypad
Garage door openers without a keypad can be reprogrammed with a remote control. There are several steps to use your garage door opener remote to change codes, as follows:
- Remove the cover from the remote control, using your hands or a screwdriver, until you notice a few switches inside.
- Review how the switches are positioned, and referring to the programming instructions, check how they need to be adjusted for the current garage door opener code.
- Reset the switches to set a new code. This process should only take a few minutes.
- Using a ladder, access the garage door opener motor.
- Remove the motor's cover, and ensure the switches match the same code as the remote control.
- Reposition the switches in both the motor and the remote, which will bring them in synch with a new code that you choose, so you’ll be able to use it when you open or close the garage door opener.
Reasons to Change Your Garage Door Code
There are several reasons for changing your garage door code and reprogramming the PIN. This is an excellent preventative way to prevent unauthorized access to your garage space. If you move to a new home, you must change the garage door codes. While there may not be a serious risk, it’s a good idea to take extra precautions.
If you recently had renovation work done in your home or garage, you might have provided the code to your garage door opener to a service technician or contractor. Once the work is done, it’s best to change your code.
There are other common reasons why reprogramming the code is a good option, especially if you suspect someone may have access to your code or door opener or there are reports of break-ins around your area.
It’s always safest to limit access to your garage to individuals in your household or close family or friends who may stay at your home for an extended time or visit often. For routine reprogramming of your code, provided there are no other safety or security concerns, it’s best to reset once every six months.
Garage Door Code
It’s easy to change the code on your garage door opener, whether you use a keypad or a remote control. This process is convenient and easy to keep your car and property secure while protecting access to your property.