Skip to content
Getting a garage door opener is the easy part. To ensure that it performs its functions properly, it is important to program its remote control. So, whether you got a new remote or want to connect your opener with your home automation system, you have come to the right place.
This article will share the process of programming your LiftMaster remote and linking it with your door opener in just a few easy steps.
Tools You Need for Programming LiftMaster Garage Door Opener
Like the number of steps, the tools you need to program your LiftMaster are also limited.
- Garage door remote control
- Step ladder
Step-By-Step Guide for LiftMaster Remote Programming
You can follow these short steps to program your LiftMaster garage door opener.
Step 1: Unlock the Panel on Your Garage Door Opener
Most garage door openers are mounted to the garage's roof, so you need a sturdy ladder to get to them.
- Search for the panel. Certain LiftMaster openers come with a panel on the side, while others have one on the back
- Open the panel to access the interior and motor unit
Pro tip: Before you begin programming, ensure you have securely shut the garage door. Why? You will soon find out.
Step 2: Find the LEARN Button on the Motor Unit
The LEARN button is a key component in programming the opener for your overhead door. The motor unit consists of a control panel and a light bulb.
- In the control panel, look for an extremely small circular or square button that says Depending on the model, this button can be red-orange, yellow, green, or purple. Its color is the same as its wire. For example, if you have a yellow wire, the LEARN button would also be yellow
- Pay attention to the small LED indicator light right next to the button, which is also the same color as the wire and the button
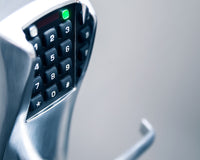
Step 3: Activate the Remote Control's Program Function
Each model of LiftMaster remote controls for a garage opener has a program button situated at a different location.
- If you own an 890MAX or 895MAX, insert a pin into the back hole of your controller and push it inwards to activate the light on the controller's side
- For 893MAX, remove the clip on the visor and use it to poke the hole at the rear end of the device until a light comes up
- If you own a remote that does not have keys, simultaneously press the buttons "*" and "#" until the light turns on
Note: The LiftMaster MAX remote controllers contain three buttons, and each is programmed individually.
Step 4: Press the Button on Your Remote to Start Programming
Refer to your LiftMaster manual to know how many times you have to press the button.
The number of times the button needs to be pushed depends on the color of the "LEARN" button in your opener.
- Push the button once for a yellow LEARN button
- Push the button twice for a green LEARN button
- Push the button three times for an orange-red LEARN button
- Push the button four times for a purple LEARN button
Step 5: Program Your Chosen Button
- After pressing your chosen button the required number of times, press any of the two remaining buttons on your remote
- Now, press the LEARN button on your garage door opener once to activate the LED light
- Again, press the button you want to program on your remote within 30 seconds of the previous step. The flashing LED light, and a clicking sound will indicate the completion of the programming
Pro tip: Do not press the LEARN button for too long, or it will erase all the remotes from your opener’s memory.
Step 6: Check the Remote Control
Hold and press the programmed button on your remote. If the programming is successful, your garage door will open. Repeat these steps to program the other buttons on the remote control.
Extra Tips
Before programming your LiftMaster remote, you should consider a few things to make the process swift and easy.
Before Programming Your Remote Control, Make Sure to Check for Any Possible Issues
Resetting and programming can help reboot a remote that isn't working, but it does not always have to be the first step.
Other reasons, such as dead batteries, defective contacts, and dirty lenses, can prevent the remote from functioning properly. So, before you try the programming solution, give these steps a try.
- Replace the batteries: To save yourself from frequent hassle, use high-quality batteries that will last longer and perform better
- Clean the rusty or discolored battery: Wipe them with a clean towel and then use sandpaper to remove any corrosion
- Clean the lens: Do this regularly to facilitate the efficient running of your garage door opener. Dust accumulation on the lens can prevent the remote from sending signals and hence impair the opening and closing of your garage door
- If the remote works properly but cannot unlock the garage doors even after programming, the problem may lie in the opener. In this case, unplug the opener, remove the battery cover and replace the batteries to solve the problem
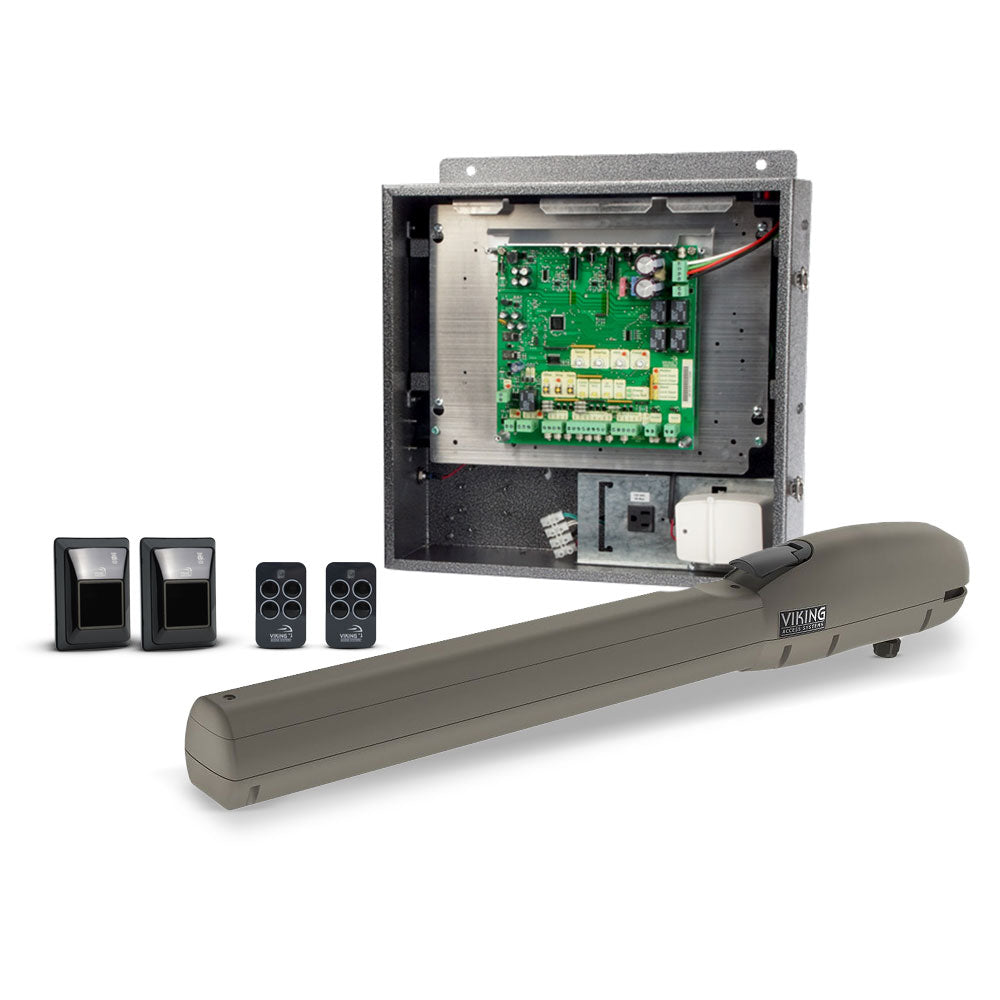
LiftMaster Compatible 3-Button Remote FAS-RM893 V1: Unboxing & Programming Instructions
Programming LiftMaster Garage Door Opener Remote
You don't need to be a tech expert to program the LiftMaster garage opener remote. Whether you want to connect your remote to your car's HomeLink system or your opener, it is possible to finish this task within a few minutes by following these easy steps. If you run into any difficulties or have any questions, feel free to contact us. We would be happy to help you through the programming process.