Welcome to our comprehensive guide on perfecting Saw-Cut Loop installations, tailored for both consumers and installers alike. In this post, we delve into the nitty-gritty details of ensuring your saw-cut loops perform flawlessly, prevent false detections, and stand the test of time. We'll cover ten invaluable tips that range from selecting the right saw blade size to using smart tools and techniques to streamline the process.
Whether you're a seasoned installer or a homeowner looking to better understand the process, this guide will equip you with the knowledge and insights you need for a seamless and successful installation. Get ready to enhance your loop installations and save both time and money with these expert recommendations.
1- Choose the Right Saw Blade Size
Prevent false detections and issues with your loop by using the correct blade width.
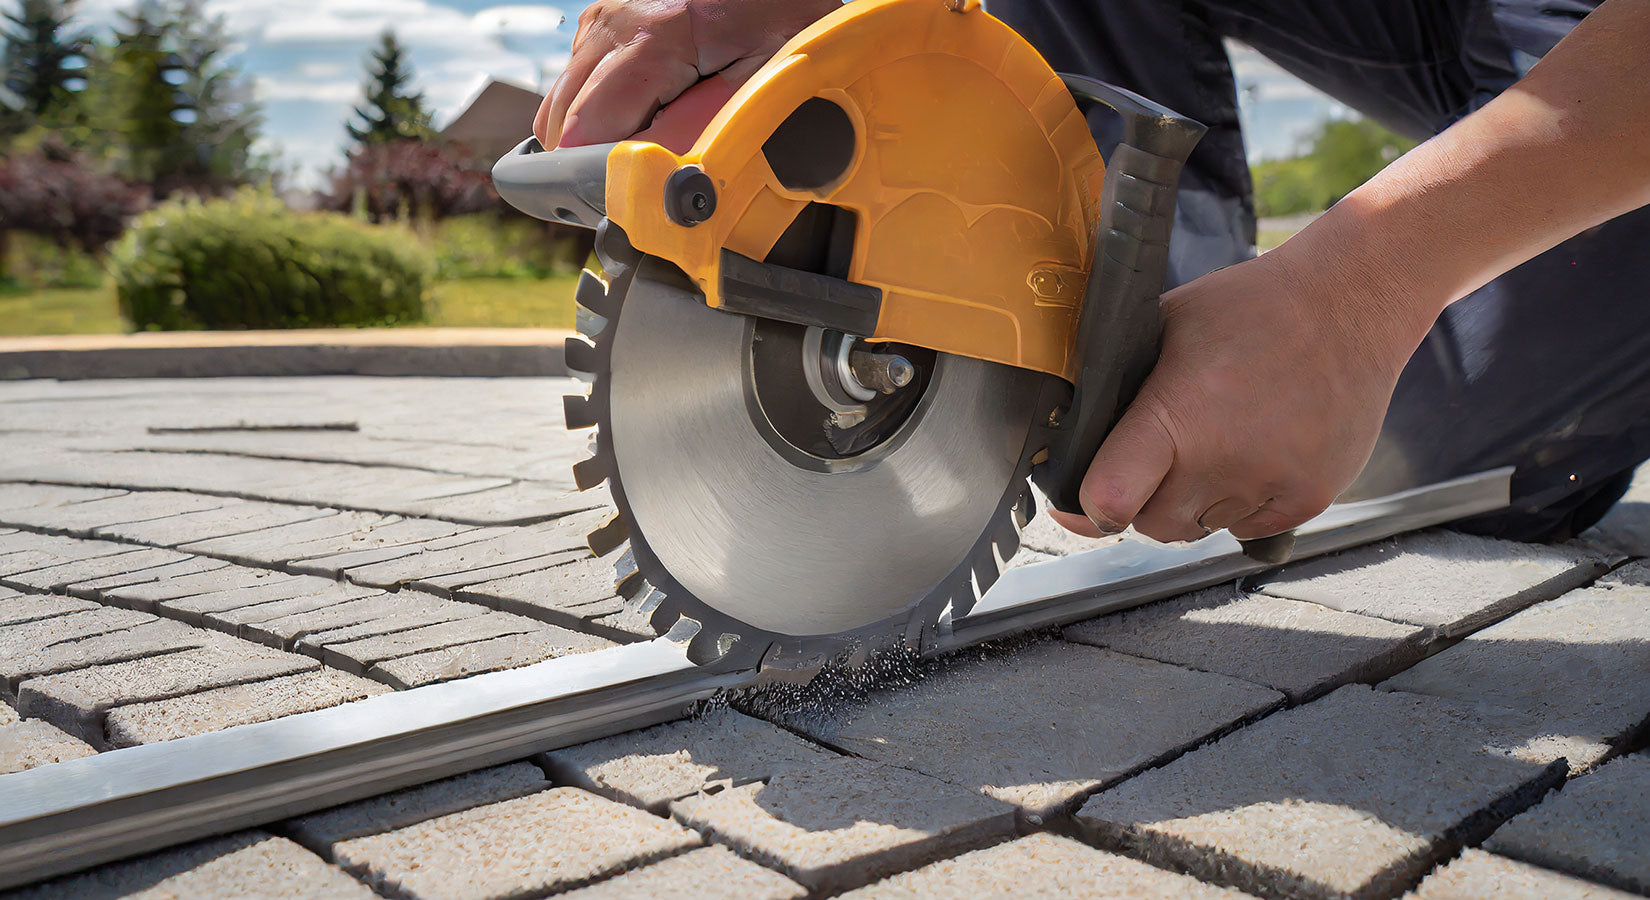
It's fascinating how a seemingly small detail like the width of your saw blade can significantly impact your loop's performance. While many recommend using a 1/8" blade due to its affordability and availability, it can cause hidden problems. For instance, an 1/8" groove is too narrow for proper sealant encapsulation, leading to air pockets that can trigger false detections and detector malfunctions. Using a 3/16" or wider blade is the best way to avoid these issues.

2- Mark the Saw Blade Depth
Cutting at the right depth saves sealant and prolongs blade life.
Cutting at the correct depth not only reduces the amount of sealant needed but also extends the life of your blade. It's an economical choice that not only saves on sealant costs but also ensures your blade lasts longer and speeds up the cutting process.
3- Use the Right Sealant Tip
Save time during installations by using the appropriate sealant tip.
Opt for a 3/16" flat sealant tip to seal the loop in a single pass from the bottom up, making your installation faster and less strenuous. While pointed tip sealants may be slightly cheaper, they require multiple passes, costing you more in time and effort.

4- Modify the Sealant Tip
Achieve even sealant application with a simple modification.
A slight adjustment to your sealant tip can result in smoother and more efficient application. The modified tip ensures sealant flows evenly into the groove, preventing it from overflowing. This not only simplifies the process but also yields a cleaner finish while reducing waste.
5- Try the Sand Trick
Enhance the aesthetics and speed up the installation process.

This straightforward trick can make your installation stand out and satisfy customers with a visually appealing finish.
6- Installing BD Loops Preformed Saw-Cut Loops
Installing preformed loops is easier than you think.
You don't need to cut a perfect-sized pattern for BD Loops' preformed loops. As long as you avoid cutting the pattern too large, our loops will fit perfectly every time.
7- Invest in a Rolling Work Seat
Make loop sealing less taxing on your body.

A rolling work seat saves your back and knees from the discomfort of bending over while sealing saw-cut loops. Simply roll along the groove's perimeter to seal it comfortably.
8- Use Sight Sticks
Eliminate the need for chalk markings with this handy tool.
Sight sticks are a great tool for experienced saw cutters. They mark the loop's corners, serving as guides for the cutting machine, eliminating the need for chalk markings.
9- Pay Attention to Dog-Ear Corner Size
Maintain consistent depth and avoid corner issues.
To ensure a uniform cutting depth, use a 5 1/2" x 5 1/2" x 7 3/4" dog-ear corner pattern. Cutting corners too small can lead to pieces popping out and requiring excessive sealant.
10- Use an Air Wand for Groove Cleaning and Drying
Save time by cleaning and drying the groove with an air wand.

An air wand with a sealant tip is an efficient tool to blow debris out of the groove while drying it. This helps prevent sealant issues and saves time during the installation process.
Saw-Cut Loop Installation
Achieving a perfect Saw-Cut Loop installation is all about precision and the right techniques. With the knowledge gained from these ten expert tips, you can ensure that your loops are not only free from false detections but also built to last. From choosing the correct saw blade size to implementing efficient tools and methods, you have the power to transform your installation process. By following these recommendations, you can save time, money, and headaches while creating installations that deliver top-notch performance.
If you find yourself in need of further guidance or have specific queries related to the process, don't hesitate to reach out to us at All Security Equipment. We're here to assist you in any way we can

