Skip to content
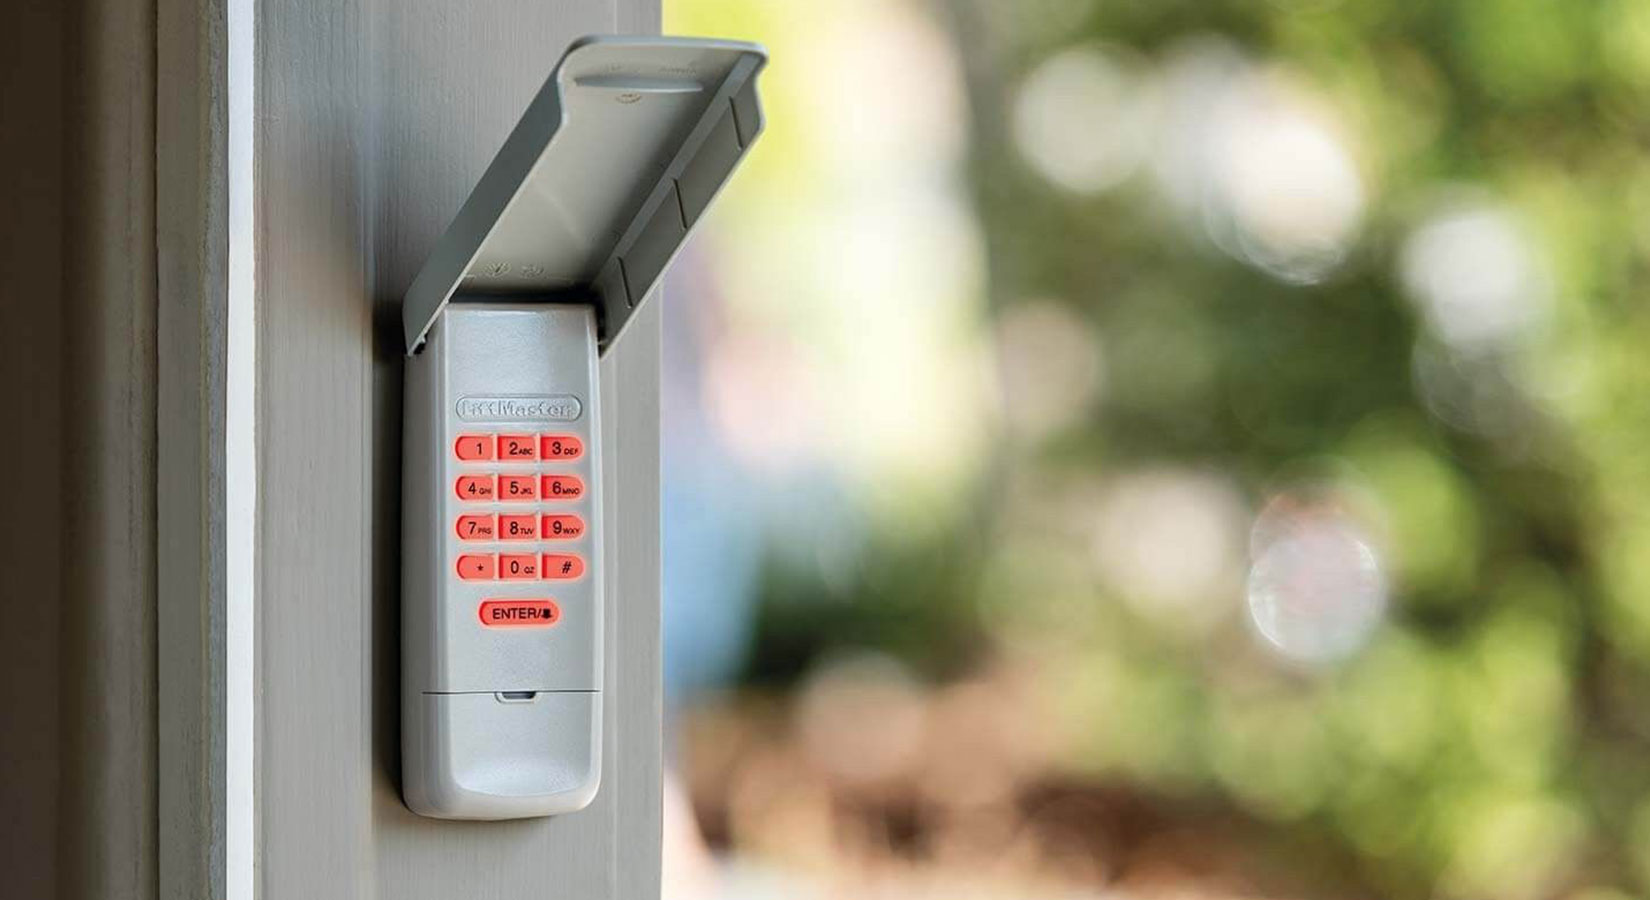
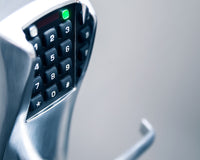
A cracked housing, worn-out buttons, water damage, or a keypad that just won’t respond anymore are all signs a garage door keypad has reached the end of its life. Replacing it is a sub-$60 job that takes about ten minutes and a screwdriver. The part most homeowners get stuck on isn’t the install, it’s choosing the right replacement. This guide covers both: how to pick a keypad that will actually pair with your opener, then how to remove the old one, mount the new one, and program it.
Keypad acting up but not obviously broken? It might be a battery or signal problem, not a dead keypad. Run through LiftMaster Keypad Not Working: 10 Possible Causes before you buy a replacement.
First: Do You Actually Need to Replace It?
Before spending money, rule out the cheap fixes. A keypad that’s “broken” is often just out of battery or out of range:
-
Swap the battery. Garage keypads use a 9-volt or AAA battery depending on the model. A fresh battery fixes more “dead” keypads than anything else.
-
Clean the contacts. Corrosion or grime on the battery terminals stops the keypad from powering up.
-
Confirm the opener itself works. Test the door with your remote or the wall button. If those don’t work either, the problem is the opener, not the keypad.
Replace the keypad if the housing is cracked, there’s water inside, keys are missing or unresponsive, the numbers are worn off, or it won’t hold a program even after a fresh battery. And yes, you can replace just the keypad. You do not need a new opener.
How to Choose a Replacement Keypad
This is the step most guides skip, and it’s the one that causes returns. You have two routes:
-
Brand-matched keypad: the same brand as your opener (a LiftMaster keypad for a LiftMaster opener). It’s the simplest to pair and gives you full feature support, including things like temporary PINs and myQ.
-
Universal keypad: works with most major brands by entering a brand code. This is the safer pick if you’re not sure of your opener’s brand or it’s been discontinued. Universal keypads connect to the large majority of residential openers on the market.
What to check before you buy:
-
Your opener’s brand and rough age. Smart keypads (myQ, Security+ 3.0) only pair with compatible smart openers, so an older opener needs a standard keypad.
-
Rolling-code compatibility. Modern openers use rolling (changing) codes, so make sure the keypad matches your opener’s system.
-
Battery type and backlit keys. Backlighting matters if your keypad sits in a shaded or dark spot.
-
Weather rating. An exposed mounting location needs a keypad built to handle it.
-
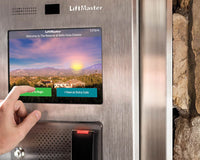
Smart features. If you want app control, access logs, or a camera, look at a smart keypad like the myQ Video Keypad rather than a basic model.
For LiftMaster and Chamberlain openers, the 878MAX is the standard replacement, and the myQ Video Keypad (VKP1-LM) adds smartphone control and a camera. Browse the full keypad collection to compare.
Tools You’ll Need
You won’t need much:
-
A new garage door keypad that fits your opener
-
A Phillips-head screwdriver or drill
-
Batteries for the new keypad (usually 9V or AAA)
-
A sturdy step ladder
Step 1: Remove the Old Keypad
-
Unscrew it. Loosen and remove the screws holding the keypad to the wall or door frame.
-
Slide it off the bracket. Most keypads lift up and off a mounting bracket, so push up first, then pull the unit toward you.
-
Remove the old bracket. Take the old bracket off the wall. If your new keypad’s bracket lines up, you can often reuse the existing screw holes.
Step 2: Program the New Keypad
It’s usually easiest to program the keypad before you mount it for good. The quick version, for openers with a Learn button:
-
Press and release the Learn button on the motor unit, and the LED lights for about 30 seconds.
-
Go to the new keypad, enter your 4-digit PIN, and press and hold Enter until the opener light blinks or you hear a click.
-
Test the code.
For the full instructions, including universal keypads that need a brand code and openers with no Learn button, see How to Program a Garage Door Keypad and how to program without a Learn button.
Step 3: Mount the New Keypad
-
Pick the spot. Next to the garage door, about five feet off the ground, ideally somewhere sheltered from direct weather.
-
Set the top screw. Drive a screw into the wall where the keypad will hang.
-
Hang and secure it. Place the keypad on the top screw and slide it into position, then add the lower screw, which on many models sits inside the battery compartment. Close it up.
Step 4: Test It
Enter your PIN and watch the door cycle. Run it a couple of times to be sure the code is holding and the door responds every time.
How Much Does It Cost, and Can I Do It Myself?
-
Cost. A standard or universal wireless keypad runs about $40 to $60; some basic LiftMaster keypads cost less, and smart keypads with a camera cost more.
-
DIY. This is a beginner-friendly job, roughly ten minutes with basic tools. Garage keypads are wireless, so there’s no wiring into the opener. You’d only need a pro for a hardwired commercial unit or if the opener itself needs service.
Keypad Care Tips
A few habits keep your new keypad working longer:
-
Keep a spare battery or two on hand so a dead battery never locks you out.
-
Choose a backlit keypad if the mounting spot is dark or shaded.
-
Wipe dust and debris off the keys now and then to prevent buildup.
-
Check the housing, battery compartment, and keys during routine maintenance for cracks, water, or loose keys.
Shop Replacement Keypads
You’ll find keypads for every major opener at All Security Equipment, whether you need an exact replacement, a universal model, or a smart keypad upgrade:
-
LiftMaster 878MAX: the standard wireless keypad for LiftMaster and Chamberlain openers.
-
LiftMaster myQ Video Keypad (VKP1-LM): smartphone control, access logs, and a built-in camera.
Compare models in the keypad collection, or contact our team for help matching a keypad to your opener.
How to Program and Reset a LiftMaster Garage Door Keypad
Frequently Asked Questions
Q1. Can you replace just the garage door keypad, or do you need a new opener?
You can replace just the keypad. The keypad is a separate wireless accessory that pairs with your opener, so a worn or broken keypad doesn’t mean replacing the opener. You only need a compatible keypad and a few minutes to install and program it.
Q2. Is there a universal keypad for garage door openers?
Yes. Universal keypads work with most major opener brands by entering a brand code during setup, and they connect to the large majority of residential openers. They’re a good choice when you’re unsure of your opener’s brand or your original keypad has been discontinued.
Q3. How much does it cost to replace a garage door keypad?
A standard or universal wireless keypad usually costs about $40 to $60. Basic models can be less, and smart keypads with app control and a camera cost more. Because it’s a DIY install, there’s typically no labor cost.
Q4. Can I install a garage door keypad myself?
Yes. It takes about ten minutes with a screwdriver and a ladder. Keypads are wireless, so there’s no wiring into the opener. You mount the keypad, then program it to your opener with the Learn button or a universal brand code.
Q5. How do I remove a LiftMaster keypad from the wall?
Remove the mounting screws, then push the keypad up to release it from its bracket and pull it toward you. Take the old bracket off the wall, and if your new keypad’s bracket lines up, you can usually reuse the same screw holes.
Q6. My new keypad won’t program. What now?
Check the battery and contacts, make sure you entered the code within the 30-second window after pressing the Learn button, and, on a universal keypad, confirm you entered the correct brand code. If the keypad still won’t respond at all, it may be defective; see our keypad troubleshooting guide.